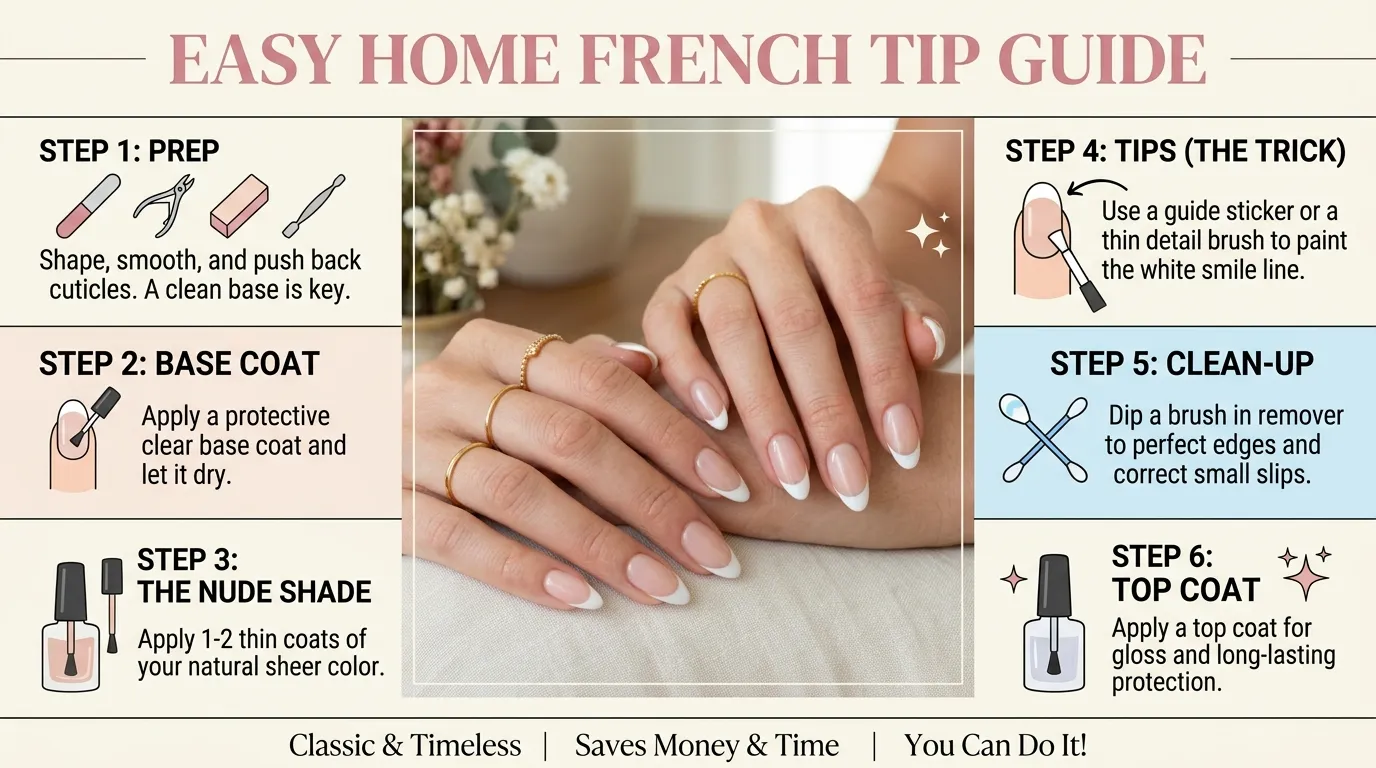
French tip nails are one of the most classic and easy-to-wear nail designs. The look usually has a natural pink, nude, or sheer base with a clean white tip. You can wear French tips for everyday life, weddings, parties, work, or special events.
The good news is that you do not need to visit a nail salon to create beautiful French tip nails. With a few basic nail tools, some practice, and the right technique, you can create a neat French manicure at home.
This guide explains how to do French tip nails at home step by step, including nail preparation, choosing the right shape, creating the French tip, fixing mistakes, and making your manicure last longer.
What Are French Tip Nails?
French tip nails are a manicure style where the main part of the nail is covered with a natural-looking shade while the free edge is painted in another color, traditionally white.
The classic version uses:
- A sheer pink or nude base
- Bright white tips
- A smooth top coat
- A clean curved “smile line”
Today, French tip nail designs can also use colors such as pink, red, black, blue, gold, or glitter. You can also make the tips very thin for a micro French manicure or wider for a more noticeable look.
What You Need to Do French Tip Nails at Home
You do not need a large collection of nail products. Start with a few simple items.
Basic Supplies
- Nail file
- Nail buffer
- Nail clipper
- Cuticle pusher
- Nail polish remover
- Cotton pads or lint-free wipes
- Base coat
- Sheer pink or nude nail polish
- White nail polish
- Thin nail art brush
- Top coat
- Cuticle oil
You can also use French tip guides or nail stickers if you find it difficult to paint the smile line by hand.
For a gel manicure, you will also need the appropriate gel base coat, gel colors, top coat, and an LED/UV lamp. Follow the curing instructions supplied with your specific gel products rather than using a random curing time. Professional French manicure instructions from OPI also emphasize nail preparation, thin product layers, sealing the free edge, and finishing with cuticle oil.
Step 1: Remove Old Nail Polish
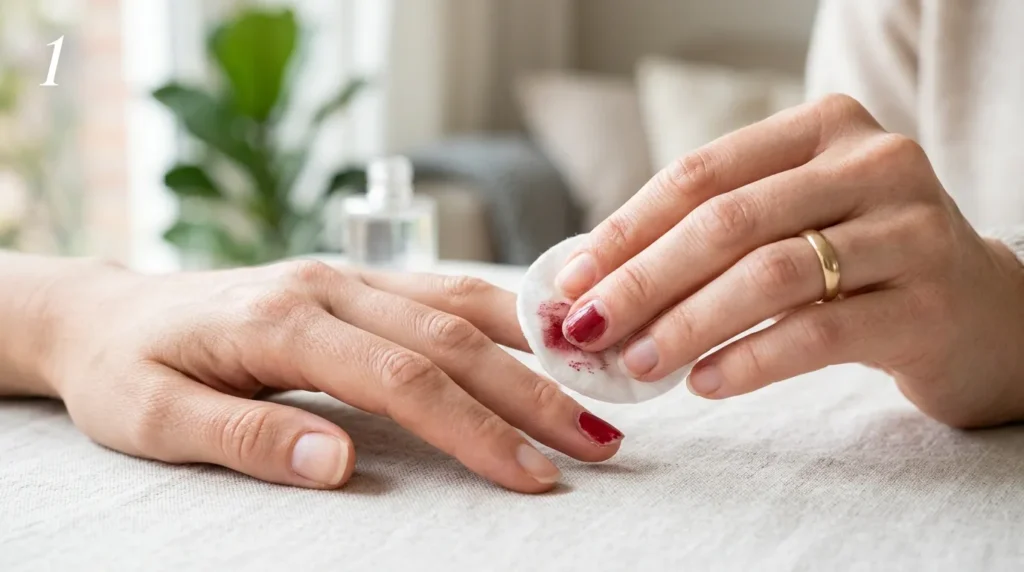
Start with clean nails.
If you already have nail polish on your nails, remove it completely with nail polish remover. Make sure there is no leftover color around the cuticles or sides of your nails.
Clean nails give your new manicure a smoother starting point.
Step 2: Shape Your Nails

Choose the nail shape you like before applying polish.
Popular shapes for French tip nails include:
- Square
- Squoval
- Round
- Oval
- Almond
- Coffin
For a classic French manicure, square, squoval, oval, and almond nails are especially popular.
Use a nail file gently rather than aggressively filing back and forth. Try to make all of your nails similar in length and shape.
Step 3: Gently Push Back Your Cuticles
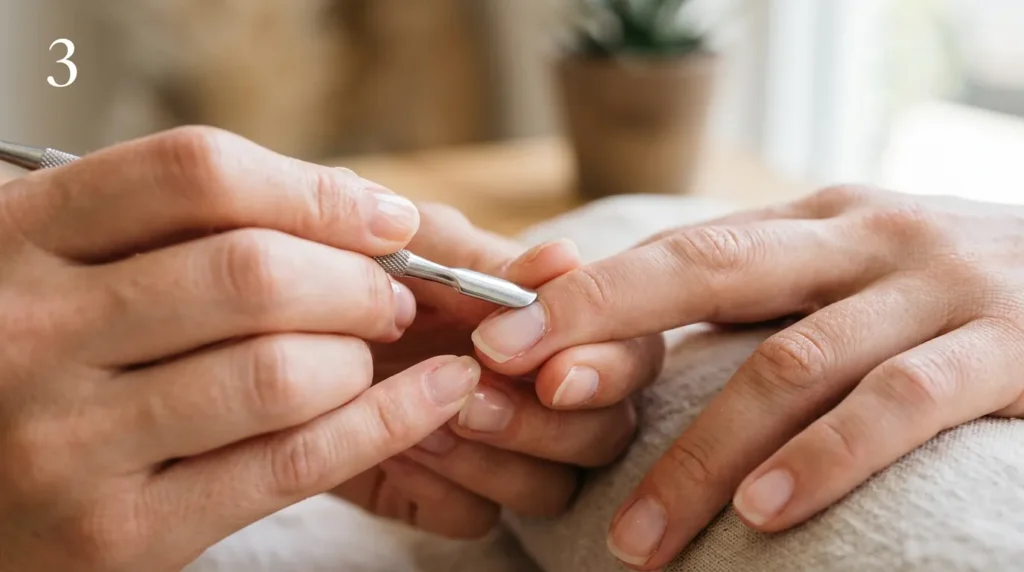
After shaping your nails, gently push the cuticles back with a clean cuticle pusher.
Do not cut or aggressively remove healthy cuticle tissue. The goal is simply to create a clean area around the nail plate.
A clean cuticle area helps your French manicure look more polished.
Step 4: Lightly Buff the Nail Surface
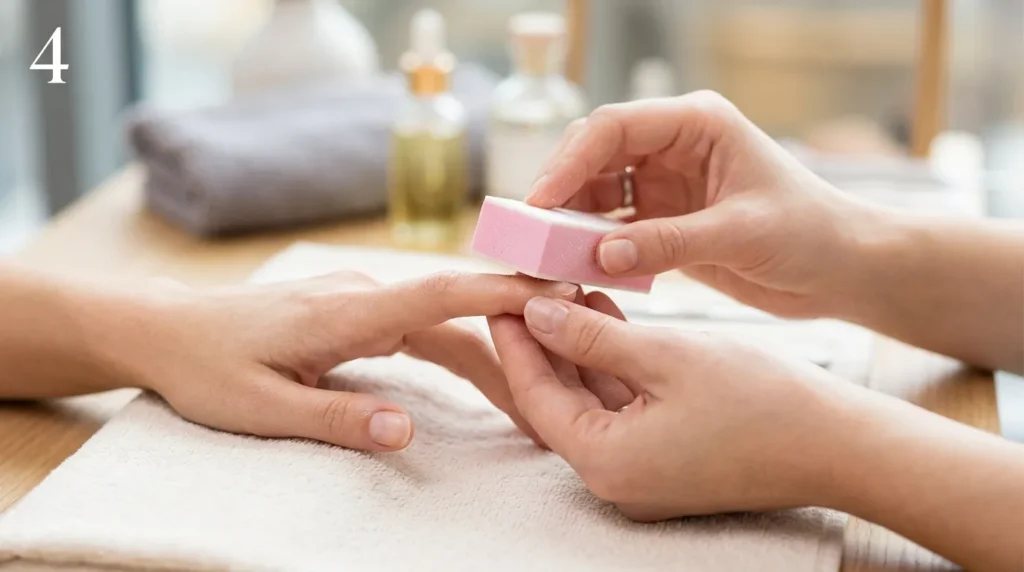
Use a soft nail buffer to gently smooth the surface if needed.
Do not over-buff your natural nails. Too much buffing can make the nail plate thin and weak.
After buffing, remove the dust and wipe the nails clean.
Step 5: Apply a Base Coat
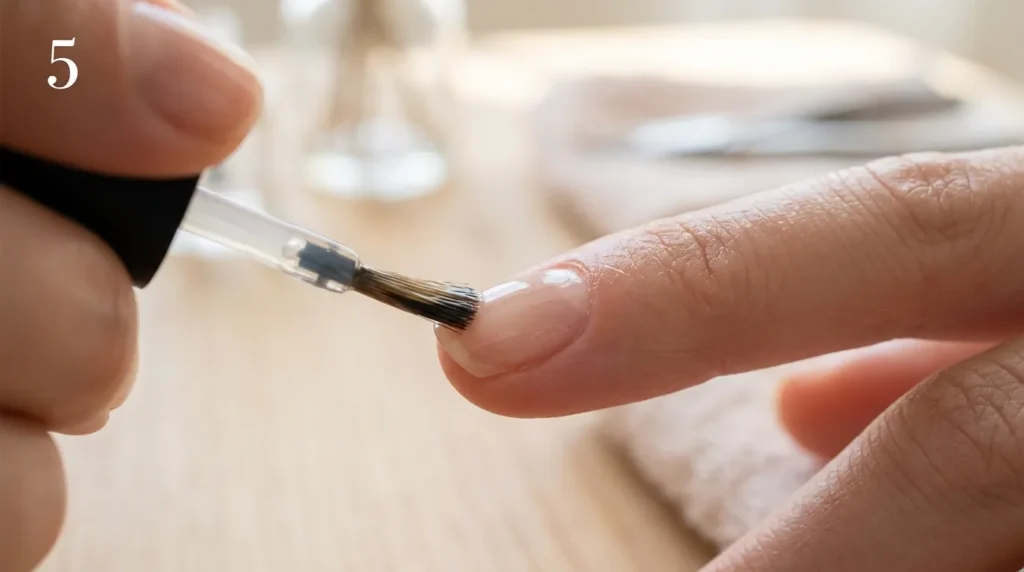
Apply a thin layer of base coat to every nail.
A base coat helps create a smooth foundation for your manicure and can help the polish adhere properly.
Allow it to dry according to the instructions for your product.
Professional manicure instructions commonly recommend thin layers and careful application around the cuticle rather than flooding the cuticle area.
Step 6: Apply Your Nude or Pink Base Color
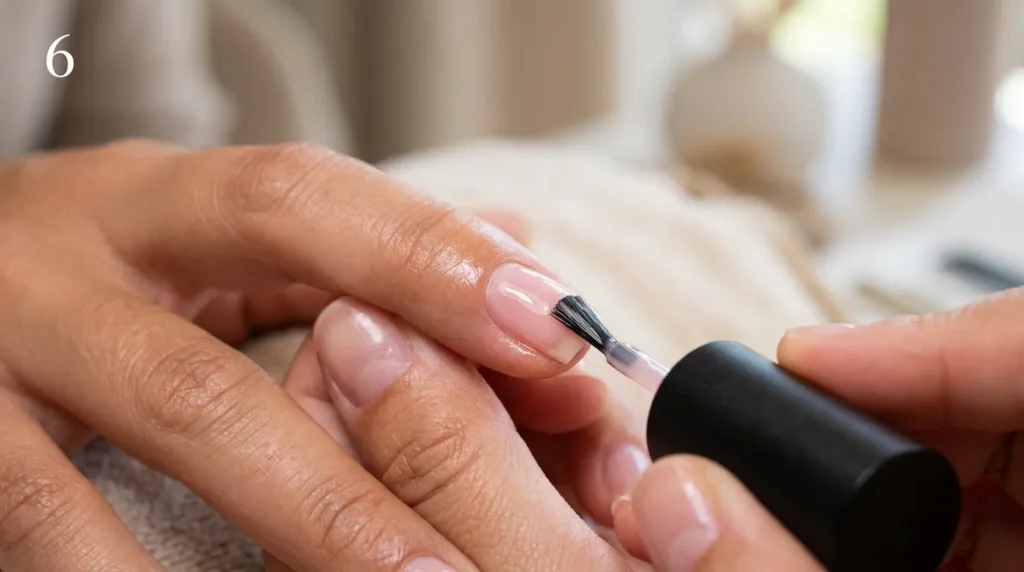
Now apply your main French manicure color.
Choose a shade such as:
- Sheer pink
- Soft nude
- Milky white
- Pale beige
- Soft peach
Apply a thin coat and let it dry. If you want more coverage, apply a second thin coat after the first one has dried.
A sheer pink or nude base gives French tips their clean and natural appearance.
Step 7: Create the French Tip
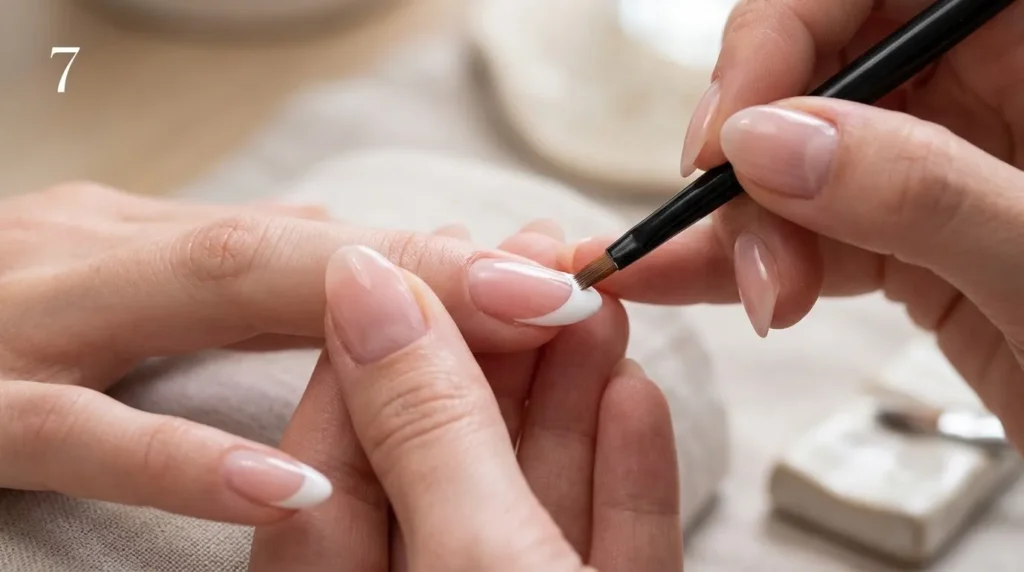
This is the most important part.
Take your white nail polish and carefully paint the tip of each nail.
Instead of trying to draw one perfect straight line, create a gentle curved line that follows the natural shape of your nail.
This curved line is often called the French smile line.
How to Paint a French Tip by Hand
Place your hand on a stable surface.
Then:
- Start near one side of the nail tip.
- Make a small curved stroke toward the center.
- Start from the other side.
- Connect the two sides.
- Fill in the area above the curved line.
- Keep the thickness similar on each nail.
Do not worry if your first attempt is not perfect. French tips become much easier with practice.
A detailed nail art brush can give you more control when creating the smile line. OPI’s at-home French manicure guide also recommends using a detail brush to create the smile line before filling the tip.
Step 8: Try French Tip Stickers If You Are a Beginner
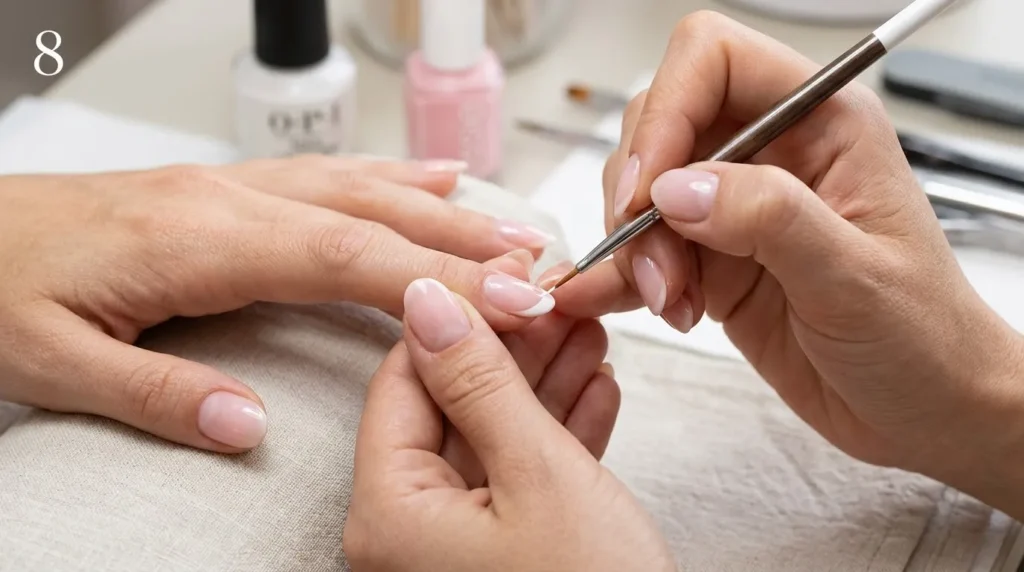
If painting a French tip by hand feels difficult, French tip guides can make the process easier.
Apply the sticker below the area where you want your white tip to begin. Press the edges down firmly so polish does not seep underneath.
Paint the exposed tip with white polish.
Then carefully remove the guide while the polish is still workable.
Tip: Do not wait until the polish becomes completely hard before removing the guide, because pulling a sticker from fully dried polish can sometimes lift the edge.
Step 9: Clean Up the Edges
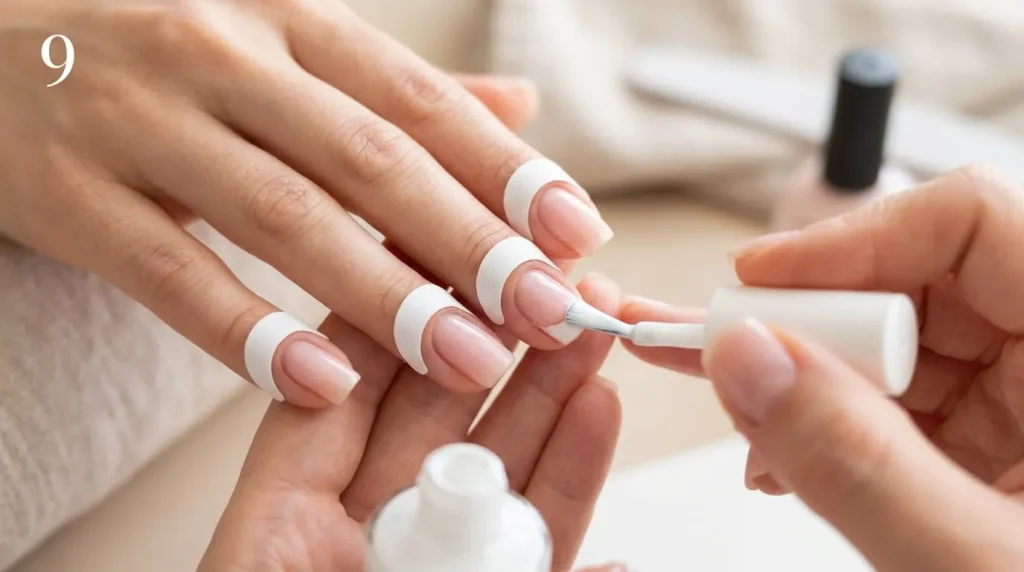
Even experienced nail artists sometimes get polish outside the nail.
Use a small clean-up brush dipped lightly in nail polish remover to clean around the sides and cuticle area.
Take your time. Small clean-up steps can make a big difference in how professional your manicure looks.
Step 10: Apply a Top Coat
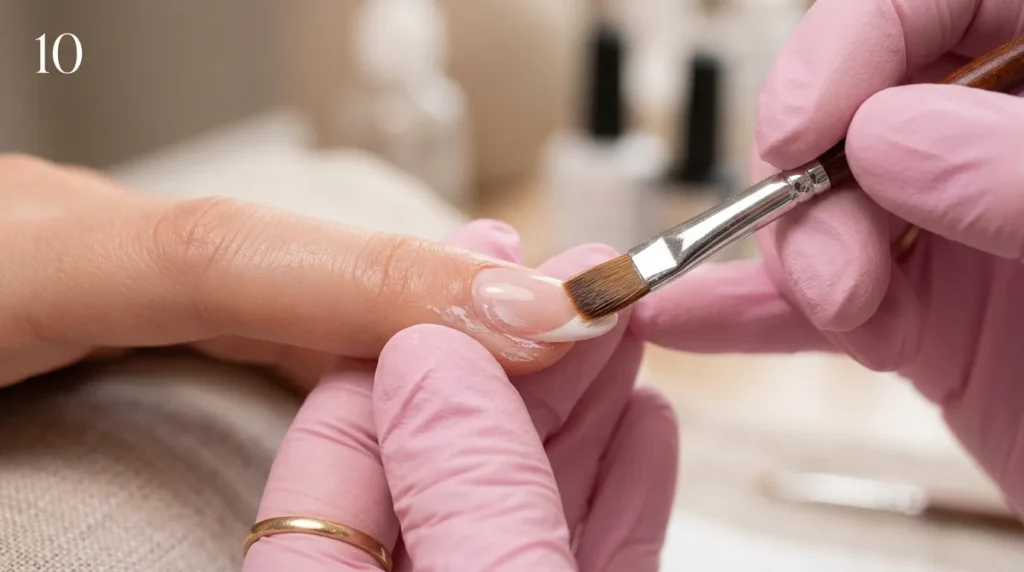
Once the French tips are dry enough to avoid smearing, apply a thin layer of clear top coat.
Move the brush gently over the entire nail.
A glossy top coat gives French tip nails their smooth, shiny finish and helps protect the design.
For gel French tips, use the correct gel top coat and cure it according to the manufacturer’s instructions. OPI’s professional tutorial also finishes the manicure with a top coat and recommends sealing the free edge.
Step 11: Finish With Cuticle Oil
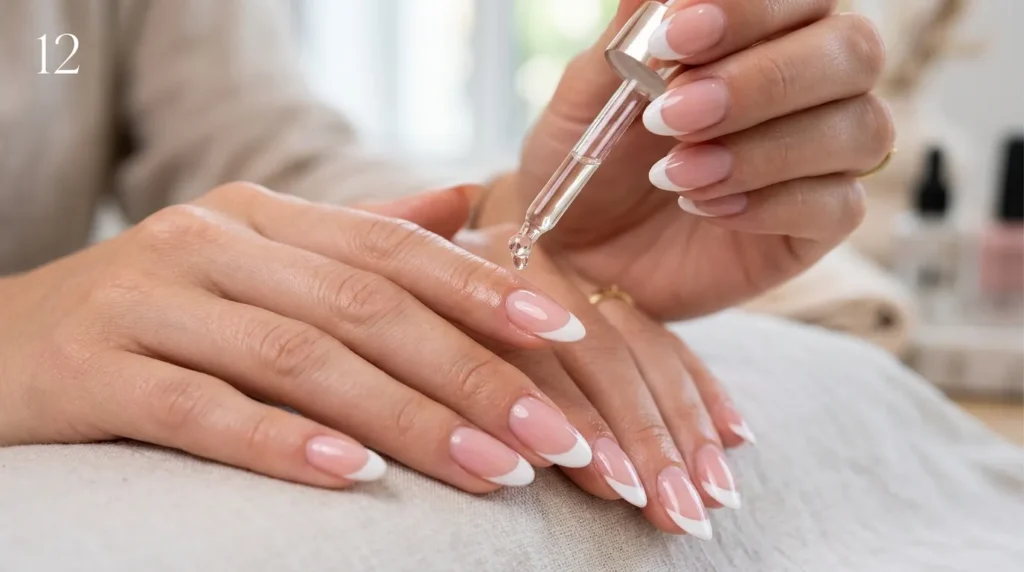
Apply a small amount of cuticle oil around each nail and gently massage it into the cuticle area.
This gives your manicure a finished look and helps keep the surrounding skin feeling moisturized.
How to Make French Tip Nails Look More Professional
The difference between an okay French manicure and a polished one is often in the small details.
Keep the Tips Similar
Try to keep the white tips approximately the same thickness on every nail.
They do not need to be mathematically identical, but large differences can make the manicure look uneven.
Use Thin Layers
Thick nail polish can become difficult to control and may take longer to dry.
Thin coats are usually easier to work with.
Stabilize Your Hand
Rest your painting hand on a table or another stable surface.
This reduces shaking and gives you better brush control.
Work Slowly
Do not rush the French tip.
Painting one nail at a time can help you focus on the shape and thickness of each tip.
Clean Mistakes Before They Dry
If white polish goes too far onto the nail, clean the mistake carefully with a small brush and remover before adding the top coat.
How to Do French Tips on Short Nails
You do not need long nails for a French manicure.
French tips can look beautiful on short natural nails.
For short nails, try a micro French tip. This means creating a very thin white line near the free edge instead of using a thick tip.
A thin French tip can help maintain a clean appearance without taking up too much space on a short nail.
Micro-French designs have also become a popular way to adapt the classic French look to shorter nails.
How to Do French Tips on Almond Nails
Almond nails naturally create a longer-looking appearance, making them a popular shape for French tip designs.
For almond nails:
- Apply your nude or pink base.
- Follow the natural curve of the nail.
- Create a soft smile line.
- Keep both sides balanced.
- Fill the tip with white polish.
- Finish with a glossy top coat.
Avoid making one side of the smile line much deeper than the other.
How to Do French Tips on Square Nails
Square nails work especially well with a traditional French manicure.
For a square shape, you can make the white tip slightly wider than you would on a round or short nail.
Follow the natural width of the nail and keep the white edge balanced from left to right.
Common French Tip Mistakes to Avoid
Making the White Tip Too Thick
A very thick white tip can cover too much of the natural-looking base.
If you want a classic look, start with a thinner tip and add more polish if needed.
Making Every Smile Line Different
One nail with a deep curve and another with a very shallow curve can make the manicure look uneven.
Try to copy the same basic curve on every nail.
Using Too Much Polish
Too much polish can create bumps and make the design harder to control.
Thin coats are easier for beginners.
Skipping Nail Preparation
French tips show every little uneven area because the design is clean and simple.
Proper shaping, cleaning, and base preparation can make the final result look much better.
Applying Top Coat Too Soon
If the white polish is still very wet, brushing over it too aggressively can drag the color into the nude base.
Give the design enough time to settle before applying your top coat.
Easy French Tip Nail Hacks for Beginners
If you are struggling with traditional French tips, try these simple techniques.
The Dot Method
Place two small dots near the sides of the nail and one in the center. Then connect them with a thin nail art brush.
This can help you create a more even smile line.
The Stamping Method
A French tip stamper can be useful when you want a quick curved tip.
Apply polish to the stamping surface and gently press the nail into the design.
The Tape Method
Small pieces of nail art tape can help create clean lines. Make sure the base color is completely dry before applying tape.
Practice on a Nail Tip
Before working on your natural nails, practice on artificial nail tips or a nail practice sheet.
This lets you experiment with tip width and smile-line shapes without worrying about ruining your manicure.
Classic French Tip Color Ideas
White is the traditional choice, but you can change the colors to create different French tip nail designs.
| Base Color | Tip Color | Look |
|---|---|---|
| Sheer Pink | White | Classic |
| Nude | White | Natural |
| Milky White | White | Soft |
| Pale Pink | Red | Romantic |
| Nude | Black | Modern |
| Pink | Gold | Glamorous |
| Nude | Brown | Warm |
| Milky Pink | Silver | Elegant |
| Clear | Bright Pink | Fun |
| Nude | Blue | Fresh |
You can also try colorful French tips when you want something different from the traditional white manicure.
How to Make Your French Manicure Last Longer
Taking care of your manicure can help it stay neat for longer.
Try these habits:
- Wear gloves when doing household cleaning.
- Avoid using your nails as tools.
- Do not pick or peel the polish.
- Apply cuticle oil regularly.
- Use a good top coat.
- Keep your nails at a comfortable length.
- Touch up small chips instead of removing the entire manicure immediately.
If you use gel polish, follow the removal instructions for that specific system. Avoid peeling gel polish from the natural nail.
French Tip Nails Without Gel Polish
You can absolutely create French tips with regular nail polish.
You need:
- Base coat
- Nude or pink polish
- White polish
- Thin nail art brush
- Top coat
- Nail polish remover
The main difference is that regular polish needs to air-dry, while gel products require the appropriate curing system.
For beginners, regular polish can be a simple way to practice the French tip technique before investing in gel products.
French Tip Nails With Gel Polish
Gel polish can create a long-lasting glossy manicure when it is applied and removed correctly.
A typical gel French manicure involves:
- Nail preparation
- Gel base coat
- Sheer pink or nude gel color
- White gel French tips
- Gel top coat
- Proper curing between compatible gel layers
Always follow the instructions provided by the gel polish and lamp manufacturer. Do not assume that every gel product can be safely cured using the same lamp or curing time.
How Long Do French Tip Nails Take at Home?
If you are a beginner, your first French manicure may take around 45 to 90 minutes, especially if you need extra time for nail preparation and cleanup.
With practice, the process can become much faster.
The actual time depends on:
- Nail length
- Nail shape
- Regular or gel polish
- Drying or curing time
- Your painting experience
- Whether you use French tip guides
How Often Should You Redo French Tip Nails?
You can redo your manicure when the polish becomes chipped, damaged, or grown out.
Many people refresh their manicure every one to two weeks, but the timing depends on the type of polish and how well it holds up.
Do not remove polish by aggressively scraping or peeling it from the natural nail.
Are French Tip Nails Still Popular?
French tips continue to be a flexible nail design because the basic look can be changed in many ways.
You can make the tip:
- Thin
- Thick
- Colored
- Glittery
- Metallic
- Angled
- V-shaped
- Double-lined
You can also combine French tips with other nail art such as flowers, chrome details, hearts, dots, or small gems.
Final Thoughts
Learning how to do French tip nails at home does not have to be difficult. Start by preparing and shaping your nails, apply a smooth nude or pink base, and then create a clean white smile line at the tip.
If you are new to nail art, use French tip stickers or practice with a thin nail art brush. The most important things are patience, thin layers, a steady hand, and careful cleanup.
Once you master the classic French manicure, you can experiment with colorful French tips, micro French nails, almond French tips, square French tips, and other modern nail designs.
For another professional reference on creating a DIY French manicure, you can also follow OPI’s French tip tutorial, which explains preparation, base color, French tip application, and finishing steps.
Frequently Asked Questions
Can I do French tip nails at home as a beginner?
Yes. French tips can be done at home with regular nail polish, a thin brush, and a little practice. French tip stickers can make the process easier for beginners.
What color should I use for a classic French manicure?
A sheer pink, nude, or milky base with a white tip is the classic combination.
How do I make French tips look even?
Keep your hand stable, use thin strokes, and try to make the smile line follow a similar curve on each nail. A French tip guide can also help.
How do I do French tips on short nails?
Use a thin or micro French tip. A narrow white line near the edge can give short nails a clean French manicure without taking up too much of the nail.
Can I use regular nail polish for French tips?
Yes. You can create French tips with regular nail polish. You do not need gel polish or an LED lamp.
Do I need French tip stickers?
No. Stickers are optional. You can paint the French tip by hand with a regular polish brush or a thin nail art brush.
Why does my French tip look uneven?
Uneven tips usually happen because of inconsistent brush pressure, different smile-line curves, or different tip widths. Practice and using a stable surface can help.
How do I fix a French tip mistake?
Use a small clean-up brush with nail polish remover to carefully remove excess polish. Then touch up the base or white tip as needed.
Can I use colors other than white for French tips?
Yes. Pink, red, black, blue, green, brown, gold, silver, and glitter are all options for modern French tip nail designs.
Are French tip nails good for short nails?
Yes. Short nails can look great with French tips. A micro French manicure is especially suitable when you want a very thin, clean tip.
How can I make my French manicure last longer?
Use a base coat, apply thin layers, seal the manicure with a top coat, avoid picking the polish, and protect your hands from harsh cleaning products when possible.
Can I do French tips with gel polish?
Yes, but gel polish requires the correct compatible lamp and proper curing and removal procedures. Always follow the product manufacturer’s instructions.

Pingback: 25 Cat Eye French Tip Nails That Shimmer From Every Angle